

How to install fiber optic cables in a home network?
Jun 03, 2026
Leave a message
Installing fiber optic cables in a home network can significantly enhance your internet speed, reliability, and overall connectivity. As a trusted fiber optic cable supplier, I'm here to guide you through the process, ensuring you have a seamless and efficient installation.
Planning Your Installation
Before you start installing fiber optic cables, it's crucial to have a clear plan in place. This involves assessing your home's layout, determining the locations for your network equipment, and identifying the best routes for the cables.
Assessing Your Home's Layout
Take a detailed look at your home's floor plan and identify the areas where you want to have internet access. This could include bedrooms, living rooms, home offices, and outdoor spaces. Consider the distance between these areas and the main network hub, as well as any obstacles that may affect the cable installation, such as walls, floors, and ceilings.
Determining the Locations for Your Network Equipment
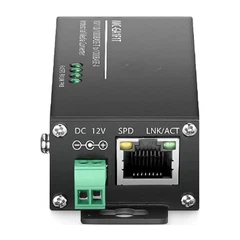
Decide where you want to place your fiber optic modem, router, and other network devices. The modem should be located near the point of entry for the fiber optic cable, while the router can be placed in a central location to provide optimal coverage throughout your home. Make sure these areas have access to power outlets and are well-ventilated to prevent overheating.
Identifying the Best Routes for the Cables
Once you have determined the locations for your network equipment, you need to identify the best routes for the fiber optic cables. Look for existing pathways, such as conduits, cable trays, or wall cavities, that can be used to run the cables. Avoid running the cables near sources of electromagnetic interference, such as power lines, motors, and microwave ovens, as this can degrade the signal quality.
Choosing the Right Fiber Optic Cables
Selecting the right fiber optic cables for your home network is essential for ensuring optimal performance. There are several factors to consider when choosing the cables, including the type of fiber, the number of strands, and the cable's jacket material.
Type of Fiber
There are two main types of fiber optic cables: single-mode and multi-mode. Single-mode fiber is designed for long-distance transmissions and offers higher bandwidth and lower signal loss compared to multi-mode fiber. Multi-mode fiber is typically used for shorter distances and is more cost-effective. For most home networks, single-mode fiber is the preferred choice.
Number of Strands
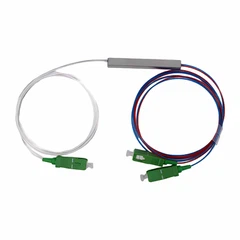
The number of strands in a fiber optic cable determines the amount of data that can be transmitted simultaneously. For a home network, a cable with at least 6 strands is recommended to ensure sufficient bandwidth for multiple devices. You can find a suitable option like the 6 Strand Single Mode Outdoor Fiber Optic Cable.
Cable's Jacket Material
The jacket material of the fiber optic cable protects the fibers from damage and environmental factors. There are different types of jacket materials available, including indoor, outdoor, and armored cables. If you need a cable that can be used both indoors and outdoors, consider the Indoor Outdoor Fiber. For added protection in areas where the cable may be exposed to physical damage, an armored cable like the Duplex Fiber Armored Cable is a good choice.
Installing the Fiber Optic Cables
Once you have planned your installation and chosen the right fiber optic cables, it's time to start the installation process. Here are the steps involved:
Step 1: Prepare the Cable
Before you start installing the cable, make sure it is properly prepared. This involves removing any protective packaging and inspecting the cable for any damage. If you find any damage, do not use the cable and contact your supplier for a replacement.
Step 2: Run the Cable
Using the routes you identified during the planning phase, run the fiber optic cable from the point of entry to the locations where you want to have internet access. Make sure the cable is not stretched or bent too tightly, as this can cause signal loss. Use cable ties or clips to secure the cable along the route.
Step 3: Terminate the Cable
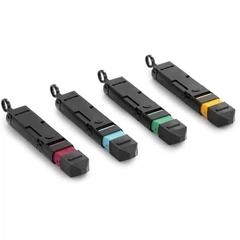
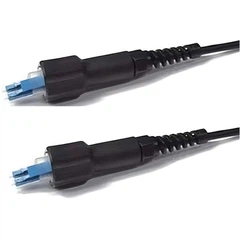
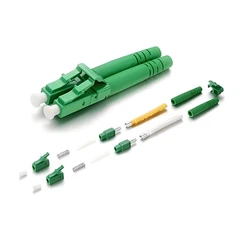
Once the cable is in place, you need to terminate the ends of the cable. This involves attaching connectors to the fibers to allow them to be connected to the network equipment. There are different types of connectors available, including SC, LC, and ST connectors. Make sure you use the appropriate connectors for your network equipment.
Step 4: Test the Cable
After terminating the cable, it's important to test the cable to ensure it is working properly. You can use a fiber optic tester to measure the signal strength and quality of the cable. If the test results are not satisfactory, you may need to re-terminate the cable or check for any damage.
Connecting the Network Equipment
Once the fiber optic cables are installed and tested, it's time to connect the network equipment. Here are the steps involved:


Step 1: Connect the Modem
Connect the fiber optic cable to the fiber optic modem. Make sure the connectors are properly seated and tightened. Plug the modem into a power outlet and wait for it to boot up.
Step 2: Connect the Router
Connect the router to the modem using an Ethernet cable. Make sure the cable is properly seated and tightened. Plug the router into a power outlet and wait for it to boot up.
Step 3: Configure the Router
Once the router is booted up, you need to configure it to connect to your home network. This involves setting up the Wi-Fi network, creating a password, and configuring the security settings. Follow the instructions provided by the router manufacturer to complete the configuration process.
Troubleshooting Common Issues
Even with careful planning and installation, you may encounter some issues with your fiber optic network. Here are some common issues and how to troubleshoot them:
Slow Internet Speed
If you are experiencing slow internet speed, there could be several reasons for this. First, check the signal strength of the fiber optic cable using a fiber optic tester. If the signal strength is low, there may be a problem with the cable or the connectors. You may need to re-terminate the cable or replace the connectors. Second, check the settings on your router to make sure it is configured correctly. You may need to adjust the Wi-Fi channel or the security settings to improve the performance.
No Internet Connection
If you are unable to connect to the internet, there could be several reasons for this. First, check the power supply to the modem and the router. Make sure they are both plugged in and turned on. Second, check the connections between the modem, the router, and the fiber optic cable. Make sure the connectors are properly seated and tightened. Third, check the settings on your router to make sure it is configured correctly. You may need to reset the router to its factory settings and reconfigure it.
Conclusion
Installing fiber optic cables in a home network can be a complex process, but with the right planning and preparation, it can be a rewarding experience. By following the steps outlined in this guide, you can ensure a successful installation and enjoy the benefits of high-speed, reliable internet connectivity.
If you have any questions or need further assistance with your fiber optic cable installation, please don't hesitate to contact us. We are a leading fiber optic cable supplier and are committed to providing our customers with the highest quality products and services. We look forward to working with you to meet your fiber optic cable needs.
References
- Fiber Optic Association. (n.d.). Fiber Optic Installation Guide. Retrieved from [Website URL]
- Cisco Systems. (n.d.). Fiber Optic Cabling Best Practices. Retrieved from [Website URL]
- Corning Incorporated. (n.d.). Fiber Optic Cable Installation Tips. Retrieved from [Website URL]
Send Inquiry